Hugo Images Module
Become a backer or sponsor to support our work.
The images module process images via URL query string and fragment, such as resize, crop, fit, fill and align images. This article offers some use cases for showing how to use it.
| Module | github.com/hugomods/images |
|---|---|
| Stats |
Features
- Process images via URL query string and fragment, such as resizing, aligning, filtering.
- Convert images in modern format (
webp), and reserve the original format as the fallback via<picture>. - Lazy loading by default.
- Set the intrinsic height and width attributes for images to get rid of CLS (Cumulative Layout Shift) affect.
- Hashing image URLs.
How It Works?
This module was built on top of render-image render hooks.
render-image hook, then a conflict may occur, this module will override the built-in one, and take control how images rendering.Installation
hugo.yaml
1module:
2  imports:
3  - path: github.com/hugomods/images
hugo.toml
1[module]
2  [[module.imports]]
3    path = 'github.com/hugomods/images'
hugo.json
1{
2   "module": {
3      "imports": [
4         {
5            "path": "github.com/hugomods/images"
6         }
7      ]
8   }
9}
URL Concepts
The URL syntax as follows.
1URL = scheme ":" ["//" authority] path ["?" query] ["#" fragment]
The query string preceded by a question mark (?), and the fragment preceded by a hash (#).
This module uses the query string to process images, and use fragment to align images.
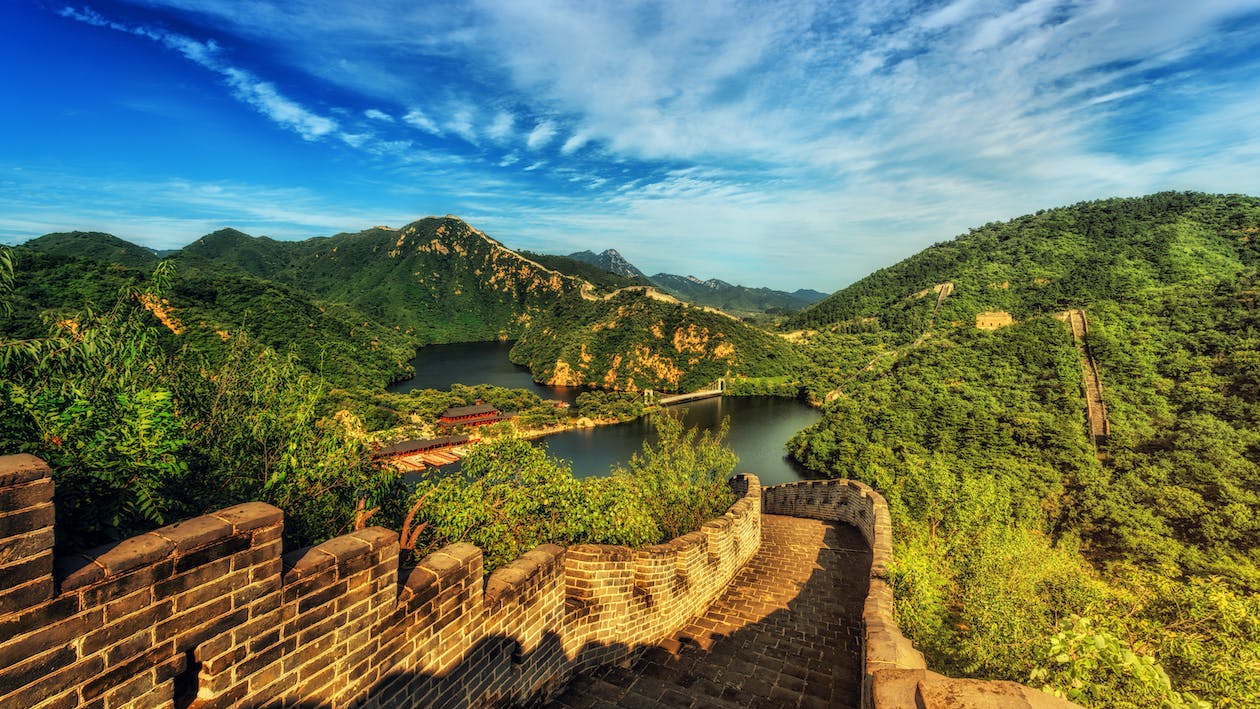, which crop the image in size 300x120, change the brightness as -30 and floating the image to the end (right).Image Types
Site (Global) Image Resources
The images located in the assets directory.
To use the site/global image resources, you’ll need to put a leading slash (/) into the URL.
| Path | Example |
|---|---|
assets/images/foo.png |  |
assets/images/bar.png |  |
Page Image Resources
The images located in the page’s directory.
You’ll need to organize pages as page bundles, for example.
1content/
2  blog/
3    hello/
4      index.md
5      foo.png
6      bar.png
The content structure above includes one page (blog/hello) that contains two image resources: foo.png and bar.png.
Then you can render the images in the page content file (blog/hello/index.md).
1
2
Static (Public) Images
The images located in the static folder.
| Path | Example |
|---|---|
static/images/foo.png |  |
static/images/bar.png |  |
External Images
| Path | Example |
|---|---|
https://example.org/images/foo.png |  |
https://example.org/images/bar.png |  |
Limitations
Most of the processing methods work only on site and page image resources, except for alignment and resizing. However, the resizing is implemented by inline styles for static (public) and external images.
The good news is that Hugo allows mounting the static/* folder, to make them to be site resources, then you can process those images via any methods. The advantage is that the source (static) images are always accessible even you haven’t used it.
hugo.yaml
 1module:
 2  mounts:
 3  - source: content
 4    target: content
 5  - source: static
 6    target: static
 7  - source: layouts
 8    target: layouts
 9  - source: data
10    target: data
11  - source: assets
12    target: assets
13  - source: i18n
14    target: i18n
15  - source: archetypes
16    target: archetypes
17  - source: static/uploads
18    target: assets/uploads
hugo.toml
 1[module]
 2  [[module.mounts]]
 3    source = 'content'
 4    target = 'content'
 5  [[module.mounts]]
 6    source = 'static'
 7    target = 'static'
 8  [[module.mounts]]
 9    source = 'layouts'
10    target = 'layouts'
11  [[module.mounts]]
12    source = 'data'
13    target = 'data'
14  [[module.mounts]]
15    source = 'assets'
16    target = 'assets'
17  [[module.mounts]]
18    source = 'i18n'
19    target = 'i18n'
20  [[module.mounts]]
21    source = 'archetypes'
22    target = 'archetypes'
23  [[module.mounts]]
24    source = 'static/uploads'
25    target = 'assets/uploads'
hugo.json
 1{
 2   "module": {
 3      "mounts": [
 4         {
 5            "source": "content",
 6            "target": "content"
 7         },
 8         {
 9            "source": "static",
10            "target": "static"
11         },
12         {
13            "source": "layouts",
14            "target": "layouts"
15         },
16         {
17            "source": "data",
18            "target": "data"
19         },
20         {
21            "source": "assets",
22            "target": "assets"
23         },
24         {
25            "source": "i18n",
26            "target": "i18n"
27         },
28         {
29            "source": "archetypes",
30            "target": "archetypes"
31         },
32         {
33            "source": "static/uploads",
34            "target": "assets/uploads"
35         }
36      ]
37   }
38}
The configuration example above mounts the static/uploads on assets/uploads, then you’re able to use the images as we did for the site resources.
1
Image Partial
This module offers a images/image partial for theme developers.
Image Partial Parameters
| Parameter | Type | Require | Default | Description |
|---|---|---|---|---|
Filename | string | Y | - | The filename or url of image. |
Alt | string | - | - | Alternative text. |
Caption | string | - | - | Figure Caption. |
Page | Page | - | - | The page variable for finding image resources. |
ClassName | string | - | img-fluid | The class name of <img>. |
Original | boolean | - | false | Whether to describe the original image info via data-* attributes. |
LazyLoading | boolean | - | true | Whether to enable lazy loading. |
1{{ partial "images/image" (dict
2  "Page" .
3  "Filename" "/path/to/image.png"
4  "Alt" "Example Image"
5) }}
Site Parameters
| Name | Type | Default | Description |
|---|---|---|---|
alignment_center_class_name | string | d-block text-center | The class name of <picture>/<figure> when align to center. |
alignment_end_class_name | string | float-end ms-2 | The class name of <picture>/<figure> when align to end (right). |
alignment_start_class_name | string | float-start me-2 | The class name of <picture>/<figure> when align to start (left). |
class_name | string | img-fluid | The class name of <img>. |
figure_class_name | string | figure | The class name of <figure> when caption is set. |
figure_caption_class_name | string | figure-caption | The class name of <figcaption>. |
figure_image_class_name | string | figure-img | This class name will be appended into the <img> class list if caption is set. |
modern_format | string | webp | Generate modern format version of image, empty to disable. |
v0.8.3, the params.images was renamed to params.hugomods.images, to get rid of conflicting with some Hugo built-in templates,
see https://github.com/hugomods/images/issues/26. 1params:
2 hugomods:
3 images:
4 alignment_center_class_name: d-block text-center
5 alignment_end_class_name: float-end ms-2
6 alignment_start_class_name: float-start me-2
7 class_name: img-fluid
8 figure_caption_class_name: figure-caption
9 figure_class_name: figure
10 figure_image_class_name: figure-img
11 modern_format: webp
 1[params]
 2  [params.hugomods]
 3    [params.hugomods.images]
 4      alignment_center_class_name = 'd-block text-center'
 5      alignment_end_class_name = 'float-end ms-2'
 6      alignment_start_class_name = 'float-start me-2'
 7      class_name = 'img-fluid'
 8      figure_caption_class_name = 'figure-caption'
 9      figure_class_name = 'figure'
10      figure_image_class_name = 'figure-img'
11      modern_format = 'webp'
 1{
 2   "params": {
 3      "hugomods": {
 4         "images": {
 5            "alignment_center_class_name": "d-block text-center",
 6            "alignment_end_class_name": "float-end ms-2",
 7            "alignment_start_class_name": "float-start me-2",
 8            "class_name": "img-fluid",
 9            "figure_caption_class_name": "figure-caption",
10            "figure_class_name": "figure",
11            "figure_image_class_name": "figure-img",
12            "modern_format": "webp"
13         }
14      }
15   }
16}
The class names compatible with Bootstrap v5 by default, you may need adjust it to your CSS if you’re not using Bootstrap.
Aligning Images
We can easily align images by adding URL fragments. Such as #center, #float-start and #float-end represents align center, float start and float end respectively.
Aligning Images to Center
Adding the #center fragment for aligning images to the center.
For example: 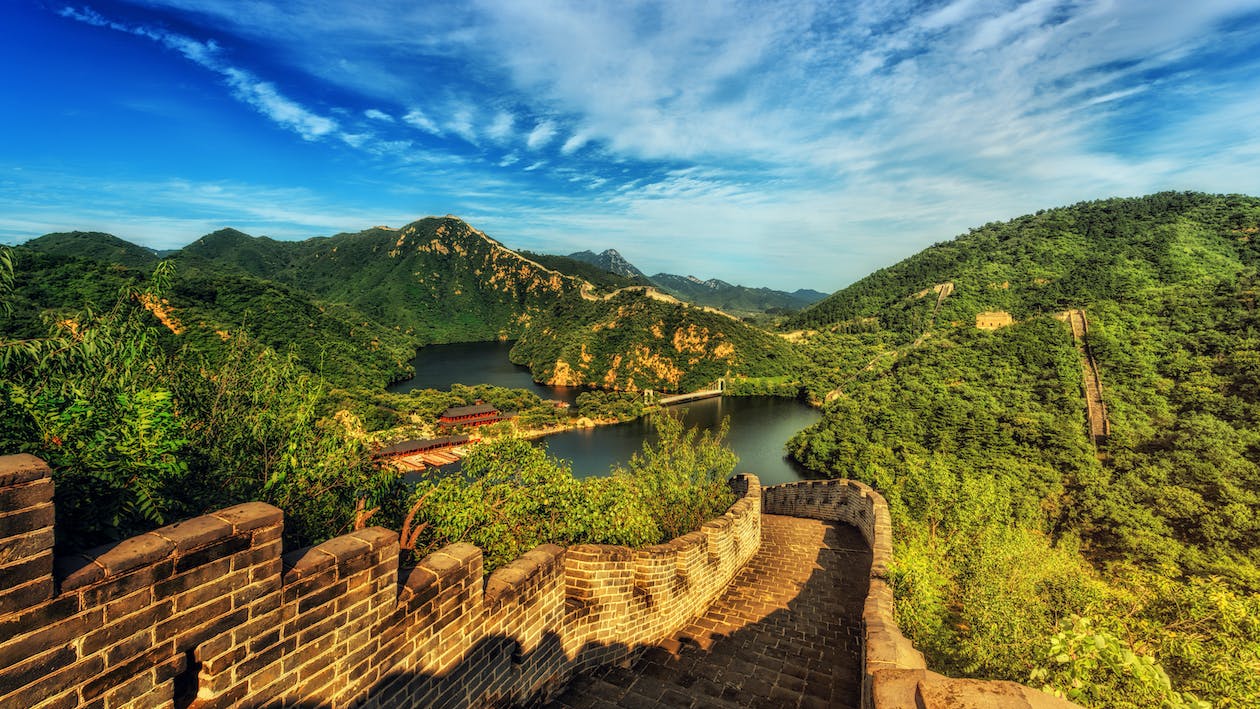.
Floating Images to Start (Left)

#float-start fragment for floating images to the start. You may need to clear to avoid breaking your layout, for Bootstrap users, you could wrap the content inside the bootstrap/clearfix shortcode.
For example.
1{{% bootstrap/clearfix %}}
2 TEXTS AROUNDS THE IMAGE.
3{{% /bootstrap/clearfix %}}
Floating Images to End (Right)

#float-end fragment.
For example.
1{{% bootstrap/clearfix %}}
2 TEXTS AROUNDS THE IMAGE.
3{{% /bootstrap/clearfix %}}
Resizing Images
We use the URL query of image for resizing images. For example:
Specify the Width and Preserve Ratio
1
Specify the Height and Preserve Ratio
1
Specify the Width and Height
1
Cropping Images
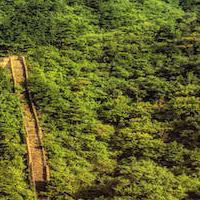
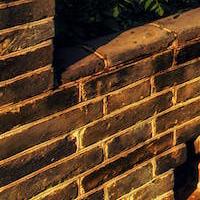
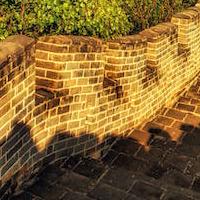
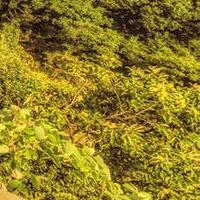
Crop an image to match the given dimensions without resizing. You must provide both width and height. Use the anchor1 option to change the crop box anchor point.
1
- The size
[width]x[height]is required. [anchor]is optional.
| Examples | ||
|---|---|---|
 |  |  |
 |  |  |
 |  |  |
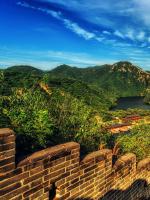
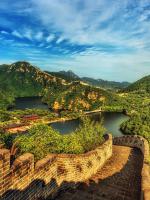
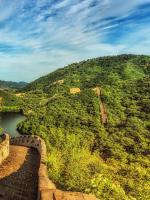
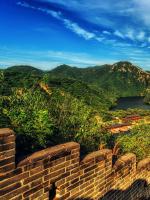
Fill Images
Crop and resize an image to match the given dimensions. You must provide both width and height. Use the anchor1 option to change the crop box anchor point.
1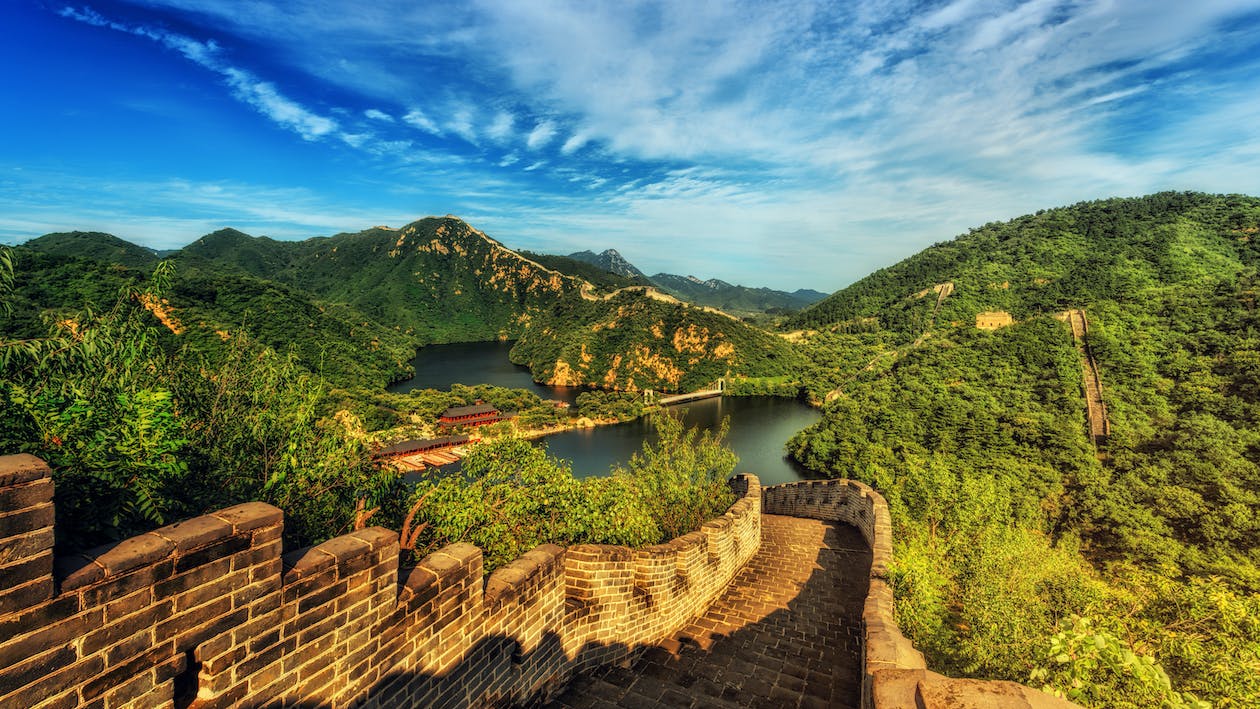
- The size
[width]x[height]is required. [anchor]is optional.
| Examples | ||
|---|---|---|
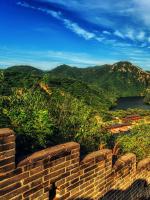 | 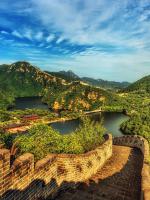 | 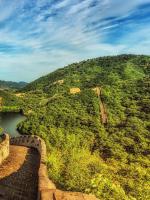 |
 |  |  |
 |  |  |
Fitting Images
Downscale an image to fit the given dimensions while maintaining aspect ratio. You must provide both width and height.
1
Image Filters
Brightness
The brightness must be in range (-100, 100).
1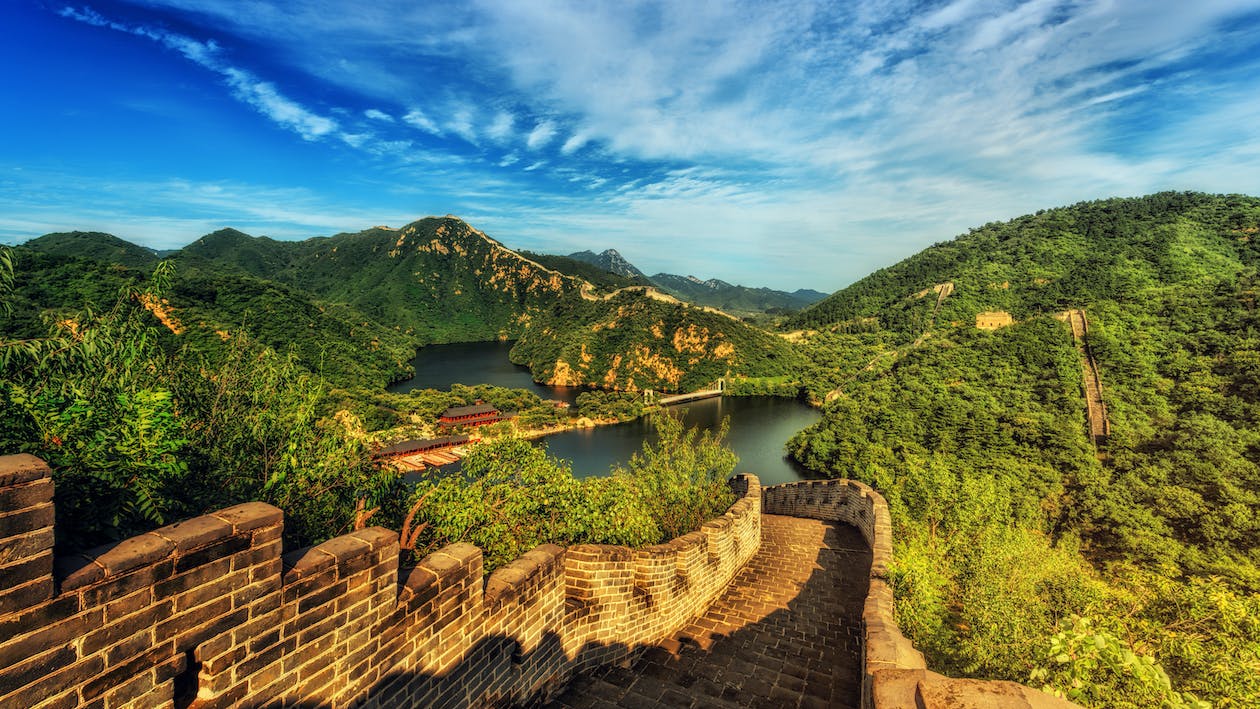
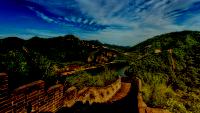
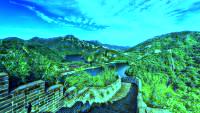
ColorBalance
ColorBalance creates a filter that changes the color balance of an image. The percentage parameters for each color channel (red, green, blue) must be in range (-100, 500).
1
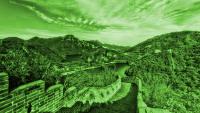
Colorize
Colorize creates a filter that produces a colorized version of an image. The hue parameter is the angle on the color wheel, typically in range (0, 360). The saturation parameter must be in range (0, 100). The percentage parameter specifies the strength of the effect, it must be in range (0, 100).
1
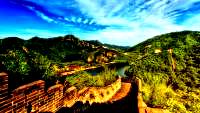
Contrast
The contrast must be in range (-100, 100).
1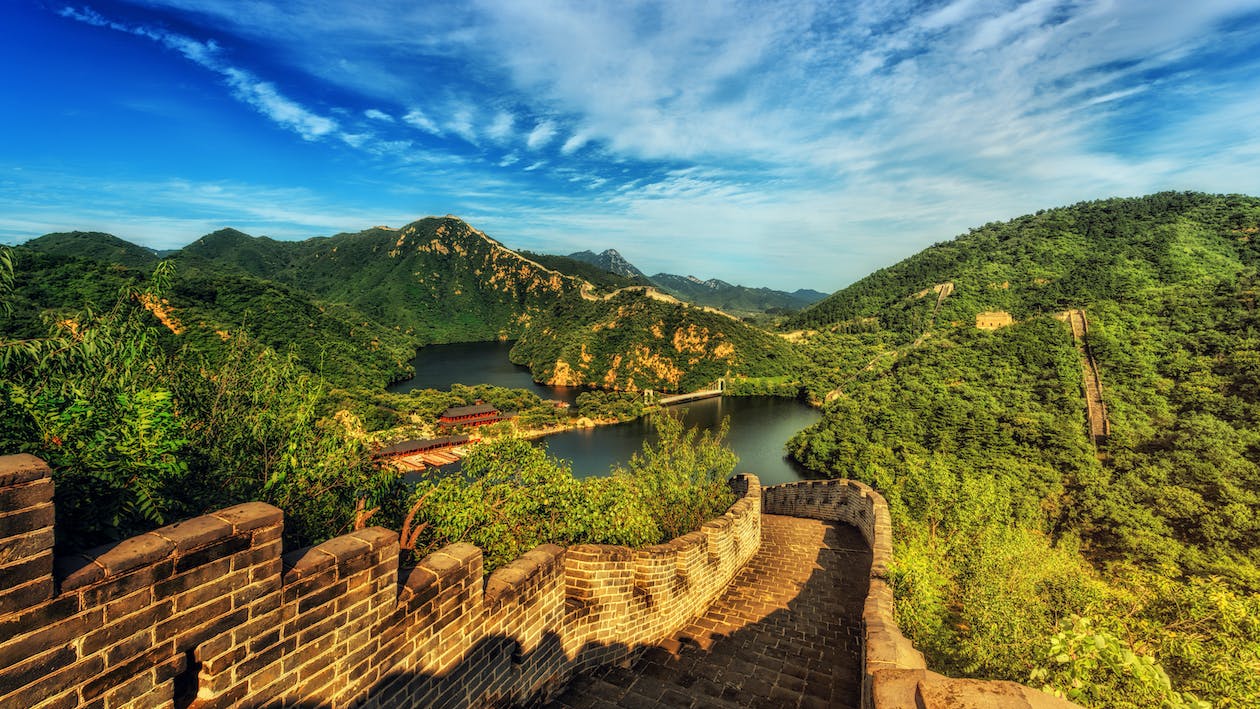
Gamma
Gamma creates a filter that performs a gamma correction on an image. The gamma parameter must be positive. Gamma = 1 gives the original image. Gamma less than 1 darkens the image and gamma greater than 1 lightens it.
1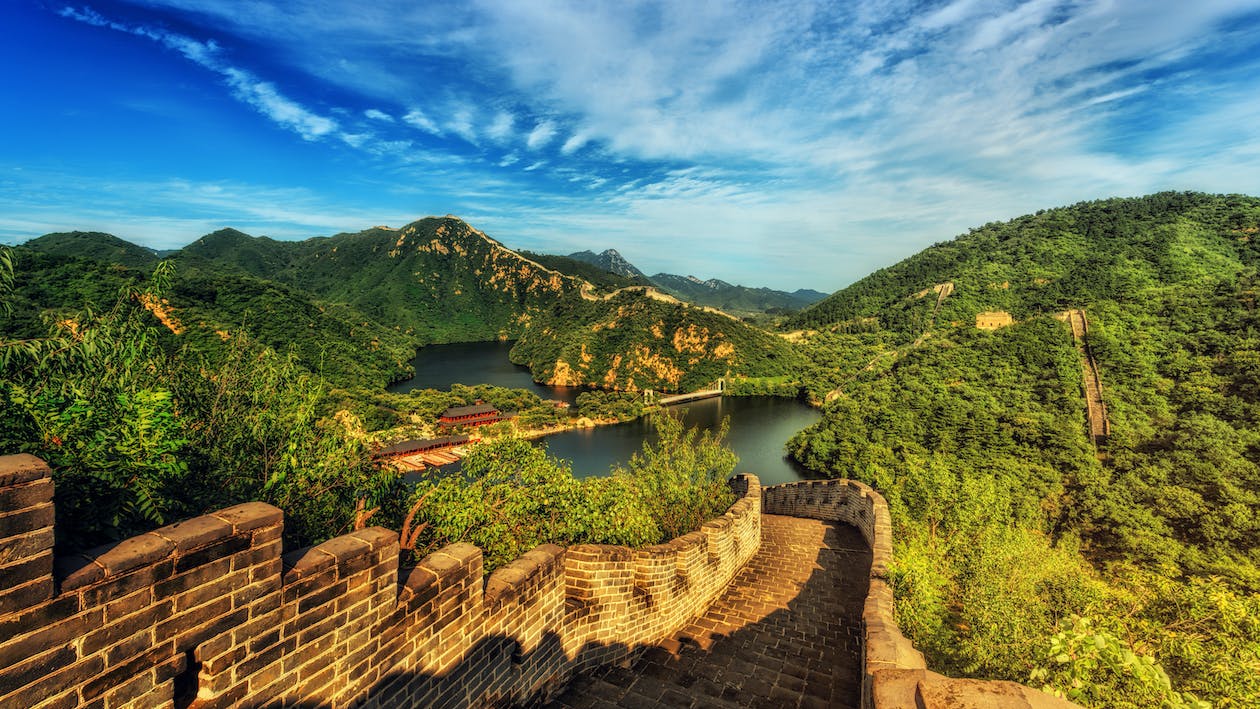
GaussianBlur
Applies a gaussian blur to an image.
1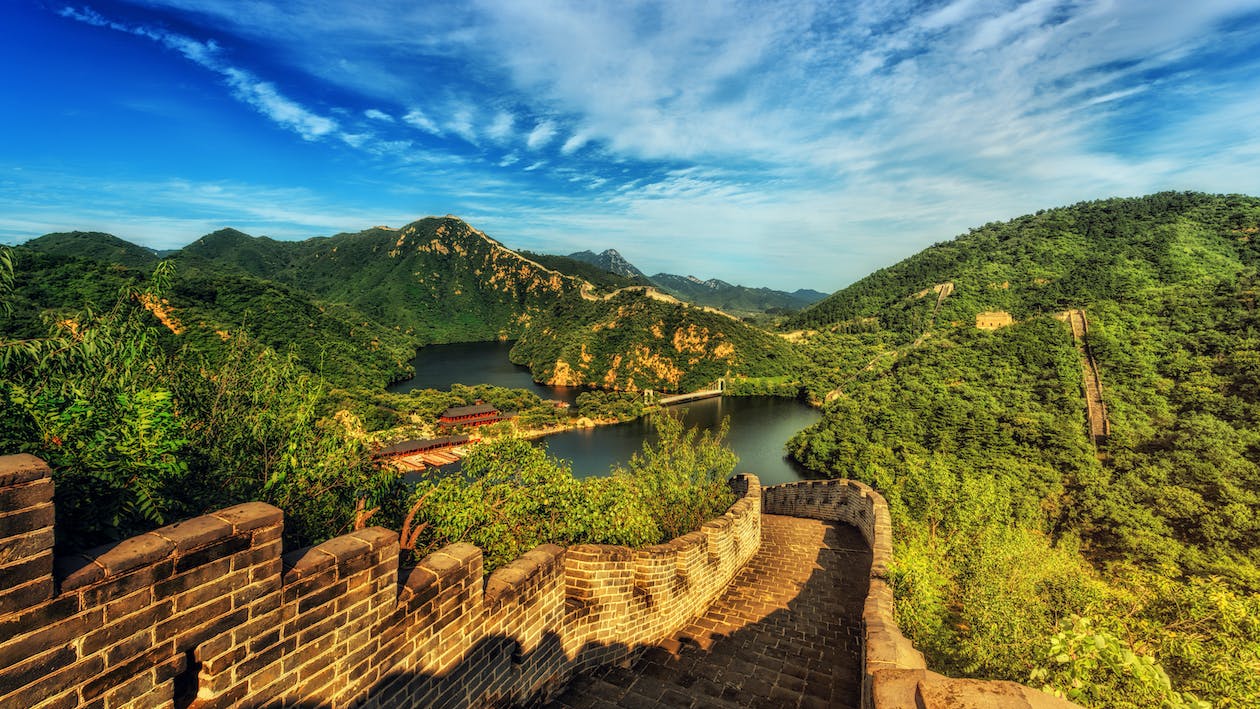
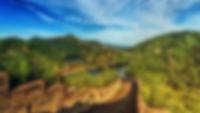
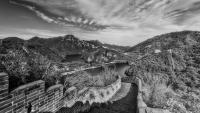
Grayscale
Grayscale creates a filter that produces a grayscale version of an image.
1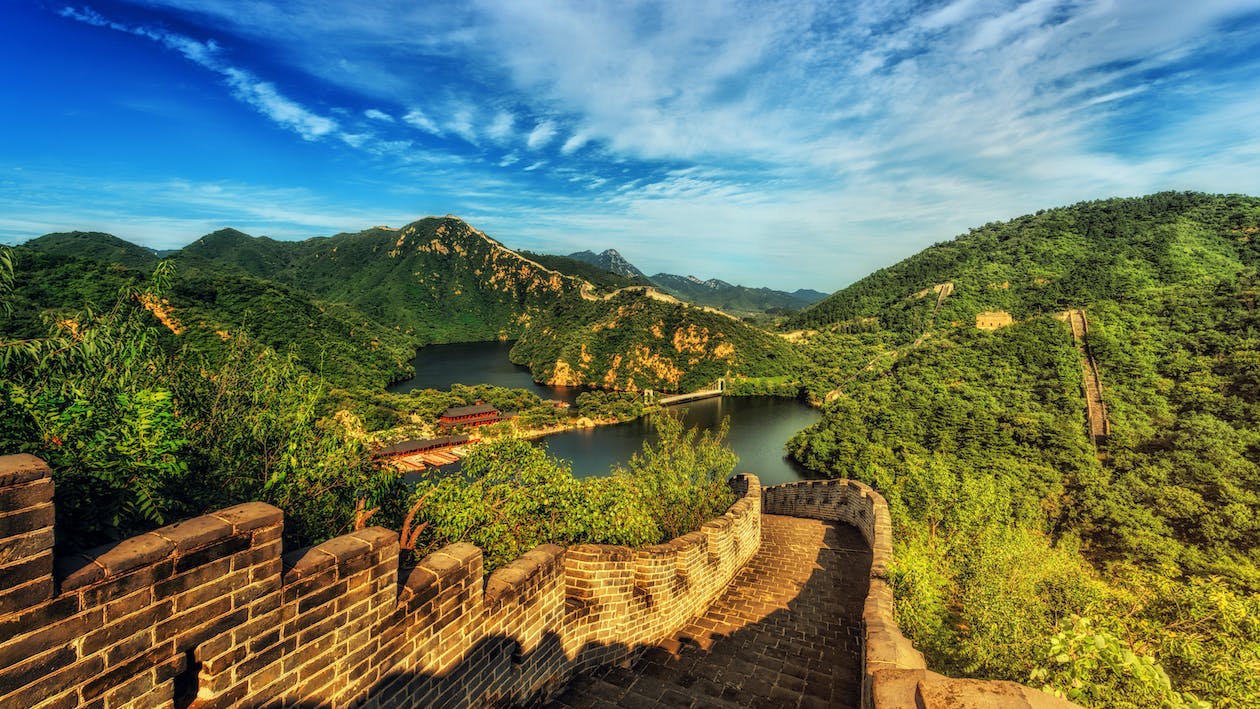
Hue
Hue creates a filter that rotates the hue of an image. The hue angle shift is typically in range -180 to 180.
1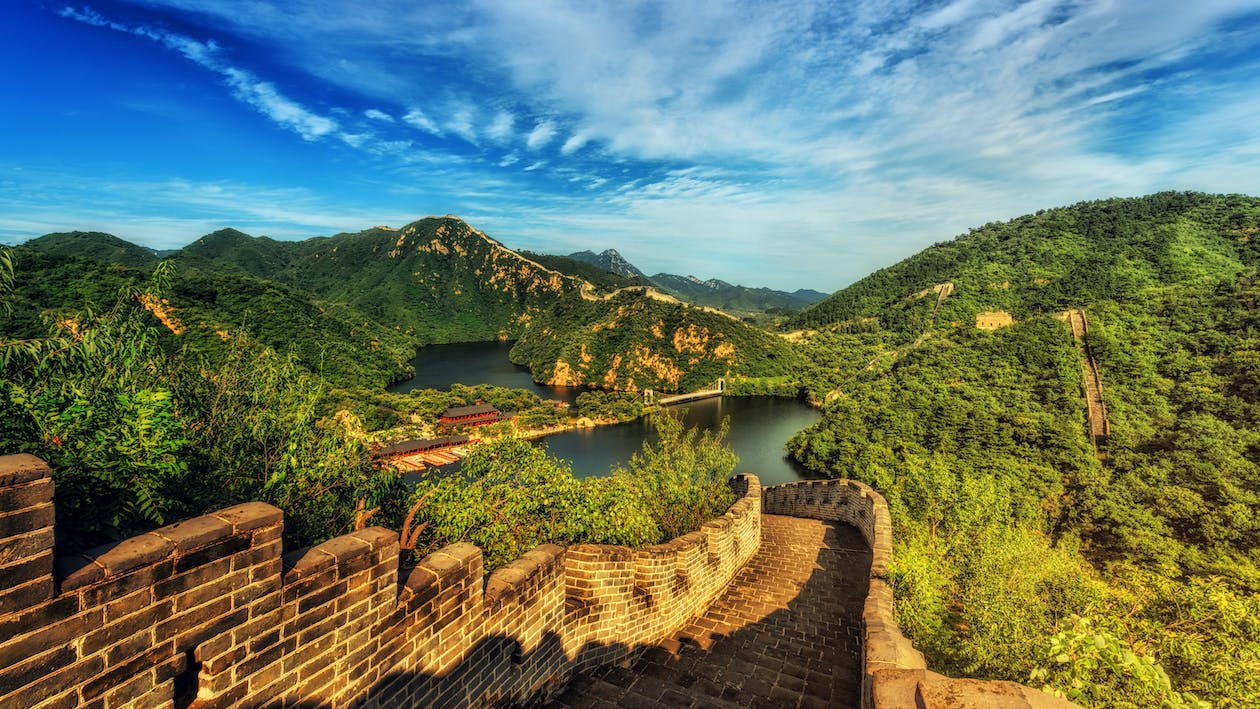
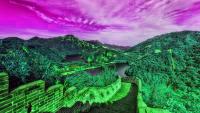
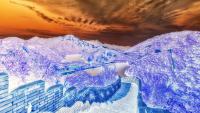
Invert
Invert creates a filter that negates the colors of an image.
1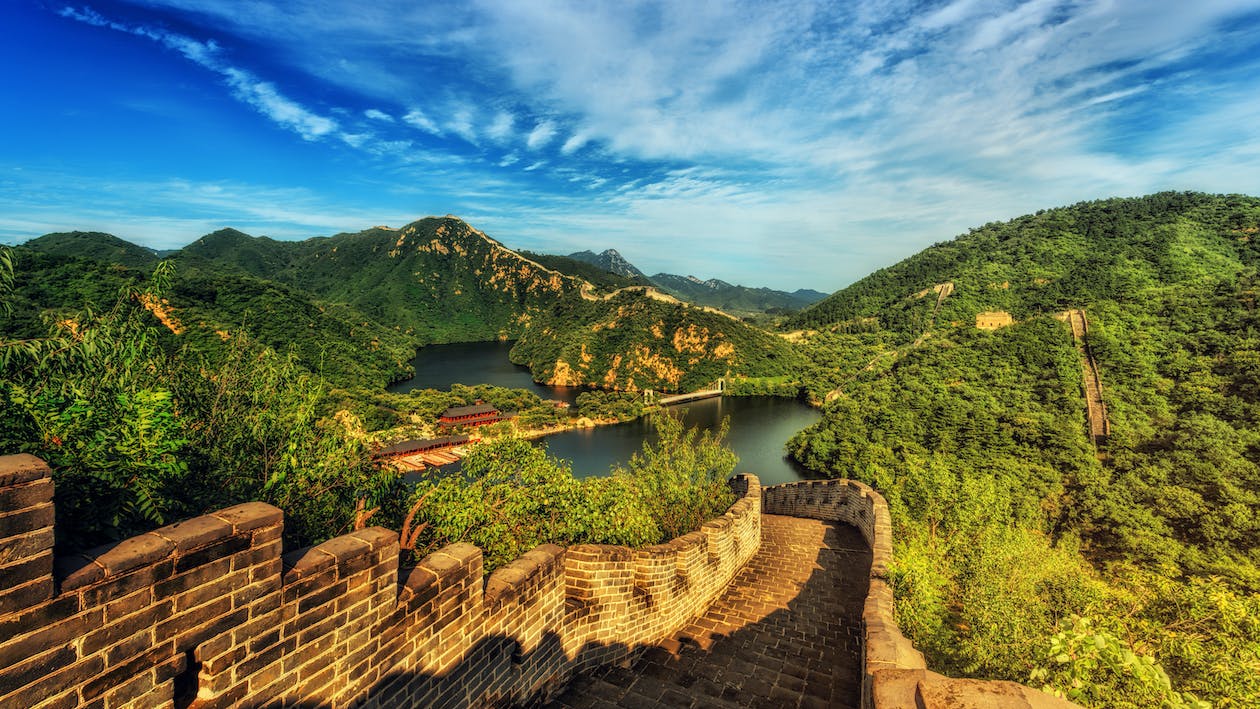
Opacity
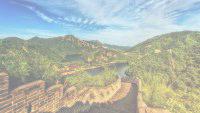
Apply a opacity filter on an image.
1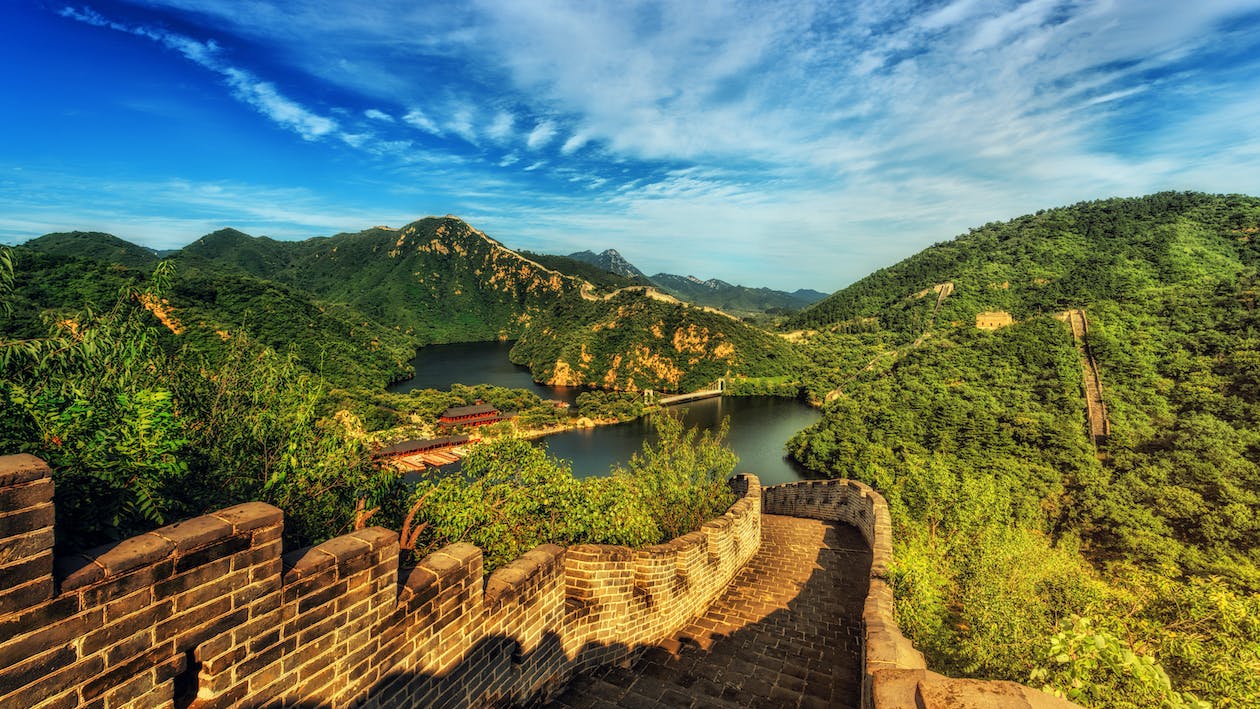
Pixelate
Pixelate creates a filter that applies a pixelation effect to an image.
1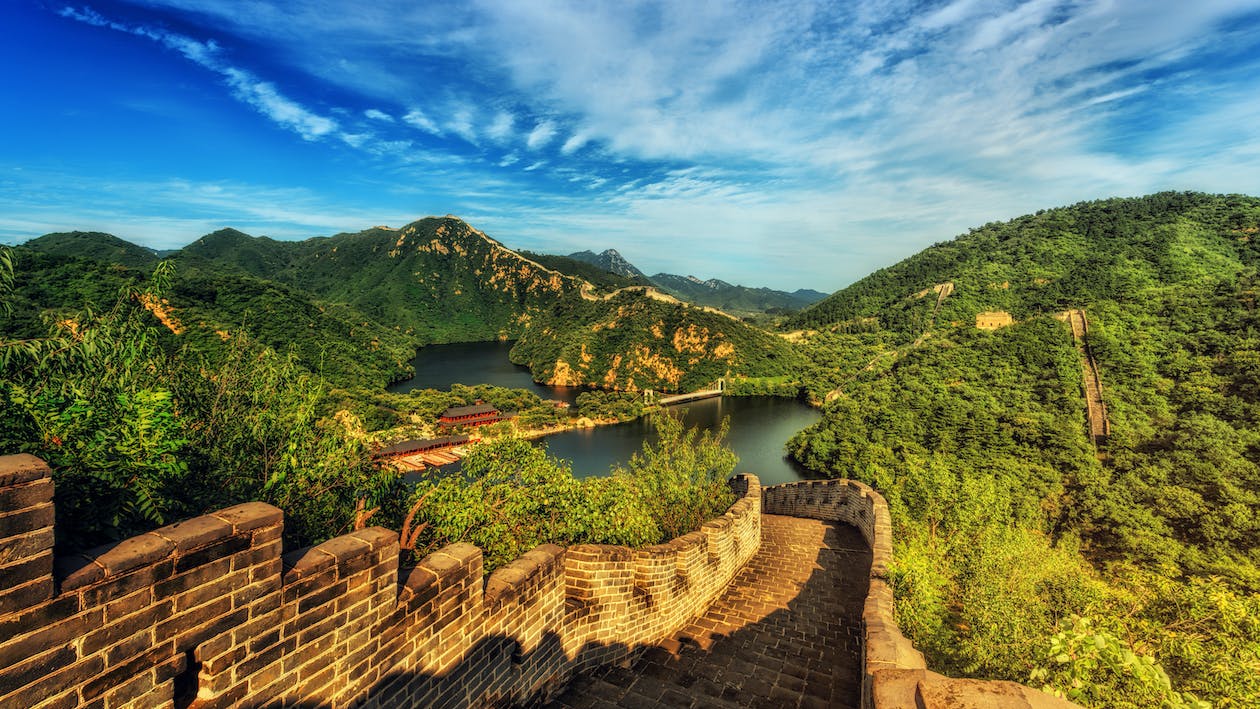
Saturation
Saturation creates a filter that changes the saturation of an image.
1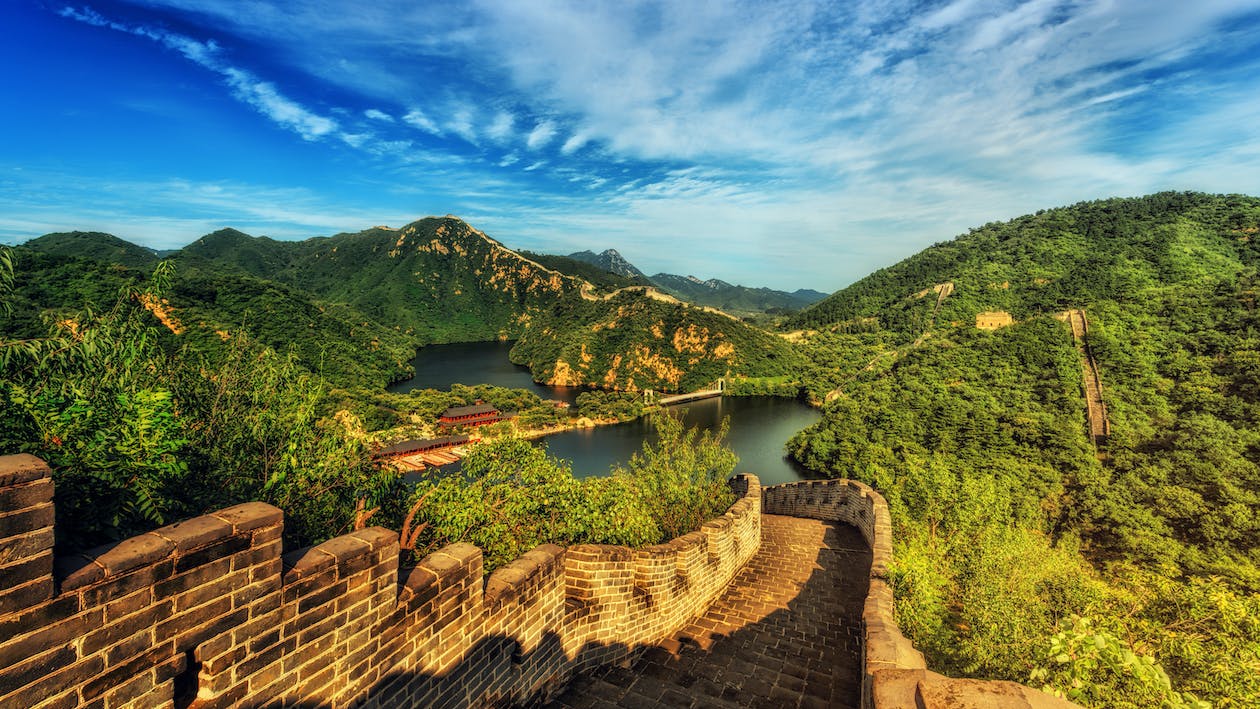
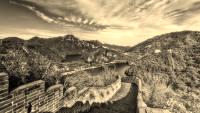
Sepia
Sepia creates a filter that produces a sepia-toned version of an image.
1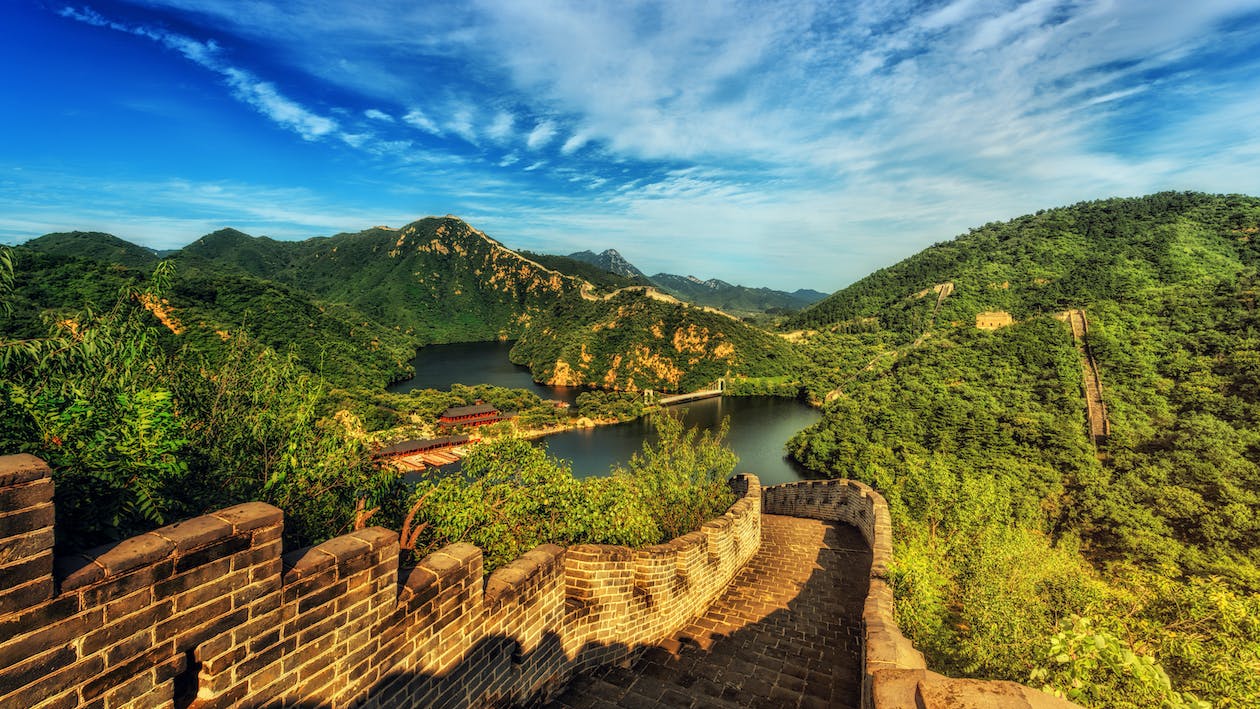
Sigmoid
Sigmoid creates a filter that changes the contrast of an image using a sigmoidal function and returns the adjusted image. It’s a non-linear contrast change useful for photo adjustments as it preserves highlight and shadow detail.
1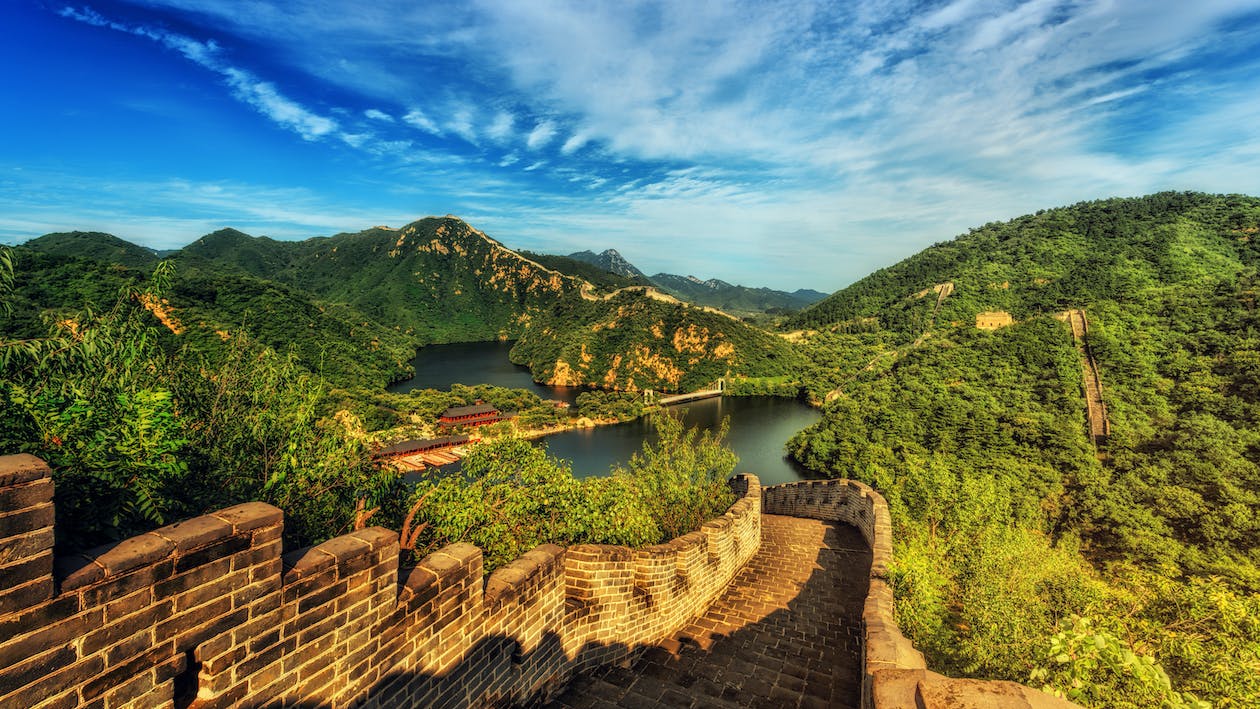
UnsharpMask
UnsharpMask creates a filter that sharpens an image. The sigma parameter is used in a gaussian function and affects the radius of effect. Sigma must be positive. Sharpen radius roughly equals 3 * sigma. The amount parameter controls how much darker and how much lighter the edge borders become. Typically between 0.5 and 1.5. The threshold parameter controls the minimum brightness change that will be sharpened. Typically between 0 and 0.05.
1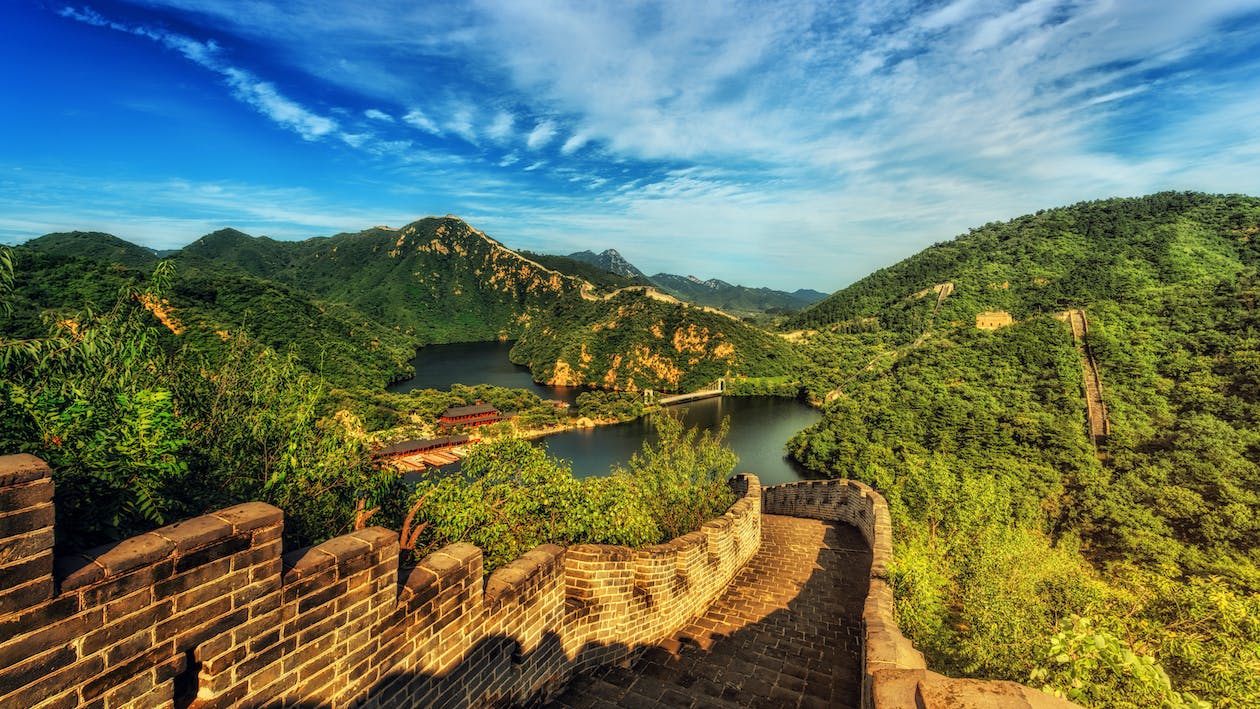
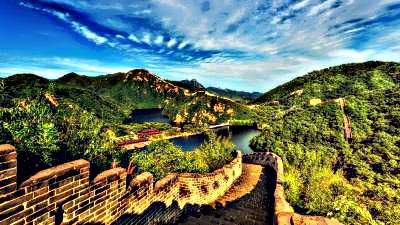
Examples
Static Images Examples
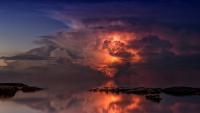
External Images


